
Over the past couple of months, CorkSport noticed that a handful of people — including a few guys here in the Washington and Oregon area — are doing engine builds over the winter. It’s very exciting to see more people raising their power goals and pushing the limits of the platform. As I continue to follow certain engine builds, I noticed that the question of a proper break in procedure always comes up.
We can all agree that making sure the rings fully seat themselves is the most important thing in the life of the piston, but everyone has a specific way of breaking in a newly built engine. Still, you may be looking for some guidance. Here at CorkSport, thanks to Master Mechanic and Technical Advisor Vincent Melon, we use a specific break in procedure we thought we’d share.
Life comes at you fast
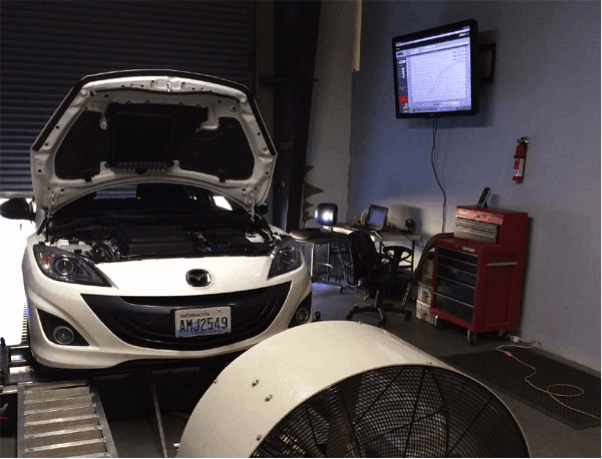
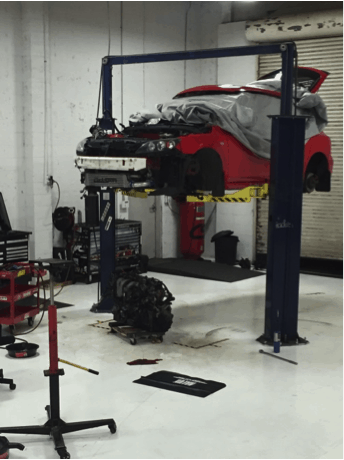
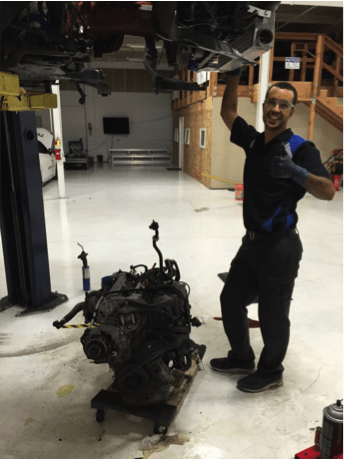
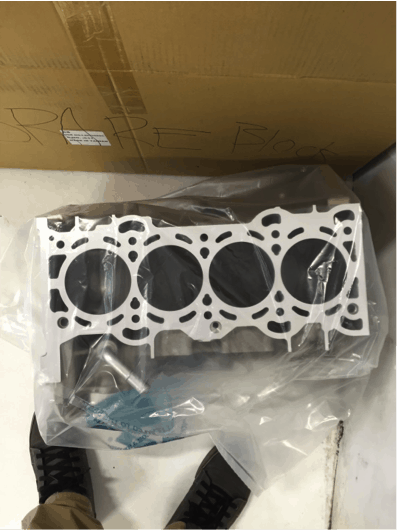
Four months ago, I blew a quarter-sized hole in the notorious piston three that forced my hand — it was time to get a built bottom end. I learned a lot during this build process and, most importantly, learned what a proper break in procedure looks like. I wanted to make sure to list out the steps Vincent and I took to guarantee the engine would be solid when fully broken in so that we could help folks like you who might go through the same process.
Oil tips for breaking in your engine build
In our opinion, one of the most crucial parts of the break in process is choosing the correct oil to break in your new build. For people who aren’t sure which oil to go with, here’s what we recommend you run: Driven BR30.
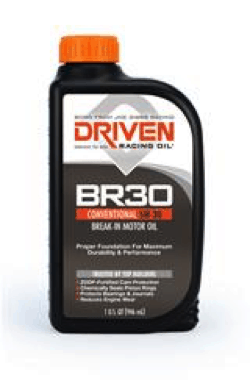
Vincent has done a lot of research on this specific type of break-in oil and swears by it. This oil is super reasonable per quart, and you’ll need around twenty quarts by the time the break-in procedure is all said and done.
Burning the midnight oil
Once you have the oil you need, new plugs, and the engine put back together, it’s time for the crucial first startup. When you first start the car again, you will want to rev the car throughout the rpm range for about 15–20 minutes to get your coolant system and oil hot. This first step will work out any air bubbles in your cooling system. It will also keep any extra metal bits in the engine fully suspended in really hot oil. Once you’ve kept the rpms consistent for about 20 minutes, it’s time to change the oil. The next few steps are super easy to follow:
- Change the oil again at 400 miles.
- Change the oil again at 800 miles.
- Change the oil again at 1000 miles.
Make sure when changing your oil at these increments, you keep a close eye on what the oil looks like. If you do not see metal bits in the oil you are changing, you’re fine. If you do notice a continued amount of metal in the oil, make sure everything is running and machined properly.
During the first 2000 miles, keep your rpms above 3000 and avoid cruising at any certain speed or rpm for long periods of time. The most crucial part of this process is making sure to change gears a lot. You can get into boost, but we recommend that you give the engine about 1000 miles before you really start romping on it. Once you have reached your 2500-mile mark, you’re good to drive it any way you like, and you can go back to using whatever type oil you want.
Cheers,
Luke
I just wanted to make sure that you suggest staying above 3000rpm correct?